Introduction
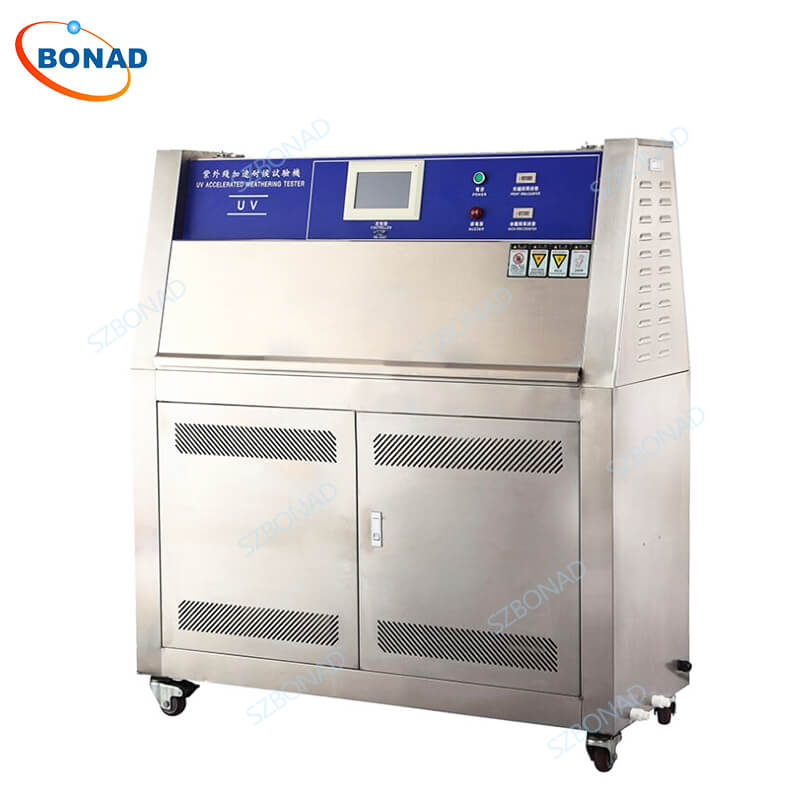
The UV aging test chamber is an essential piece of equipment for assessing the weathering resistance of various materials. By simulating natural sunlight’s ultraviolet radiation and condensation, this chamber accelerates the weathering process, providing valuable data on material durability. This guide will walk you through the proper operation and maintenance of the UV aging test chamber to ensure safety and longevity.
Operating the UV Aging Test Chamber
- Power Connection: Start by connecting the power supply and grounding wire securely.
- Sample Placement: Open the chamber door and place your sample correctly. Refer to the user manual or contact customer support for guidance.
- Setting Test Time: Use the time controller to set the total test duration. The controller has three modes—hours (h), minutes (M), and seconds (S)—which can be adjusted using the up and down buttons.
- Lighting Time Configuration: Set the lighting time, which alternates between “lighting” (daytime illumination) and “humidity” (night condensation). The process is similar to setting the total time.
- Initiate Testing: Press both the “Start” button and “Light up” button to begin the test.
- Temperature Adjustment: Use the “Mode key” on the instrument panel to adjust the temperature settings. Confirm adjustments by pressing the “Mode key” again until settings stabilize without flashing.
- Running State: Once all parameters are set, the device will enter its running state.
- End of Experiment: Upon completion of the test duration, the chamber will automatically switch to standby mode.
- Sample Retrieval: Open the chamber door carefully and retrieve your sample.
- Independent Lighting Testing: For lighting tests only, match “lighting timing” with “total timing” on both sides to their maximum values.
Extending Service Life of Your UV Aging Test Chamber
- Power Off When Idle: Always cut off power supply when not in use and keep the chamber dry.
- Post-Experiment Care: Drain any water inside after each experiment and dry both studio and chamber thoroughly.
- Dust Prevention: Cover with plastic film or cloth post-use to prevent dust accumulation; remove any dust promptly if it occurs.
- Handle Sensors Carefully: Avoid strong impacts on internal sensing devices.
- Ventilation Requirements: Install in a well-ventilated area with constant temperature; consider adding a ventilation fan or air conditioning if necessary.
- Manufacturer Repairs Only: Do not attempt unauthorized repairs; contact manufacturer for any malfunctions.
- Pre-Use Check After Long Idle Periods: Inspect power supply, water source, and components before restarting after long periods of inactivity.
- Wastewater Management: Ensure proper installation of wastewater discharge systems.
- Chemical Safety: Keep corrosive chemicals, combustibles, explosives away from equipment.
- Protective Gear Usage: Avoid direct eye contact with lamp tubes without protective glasses.
Conclusion
The UV aging test chamber is designed to evaluate non-metallic materials’ resistance under simulated sunlight, temperature, and climatic conditions as per standards like ISO 4892-1, ISO 4892-3, GB/T16585-1996, GB14522-93, GB/T16422.3-1997, ASTMG53 among others. By following these operational guidelines and maintenance tips, you can ensure safe usage while extending your equipment’s service life.


