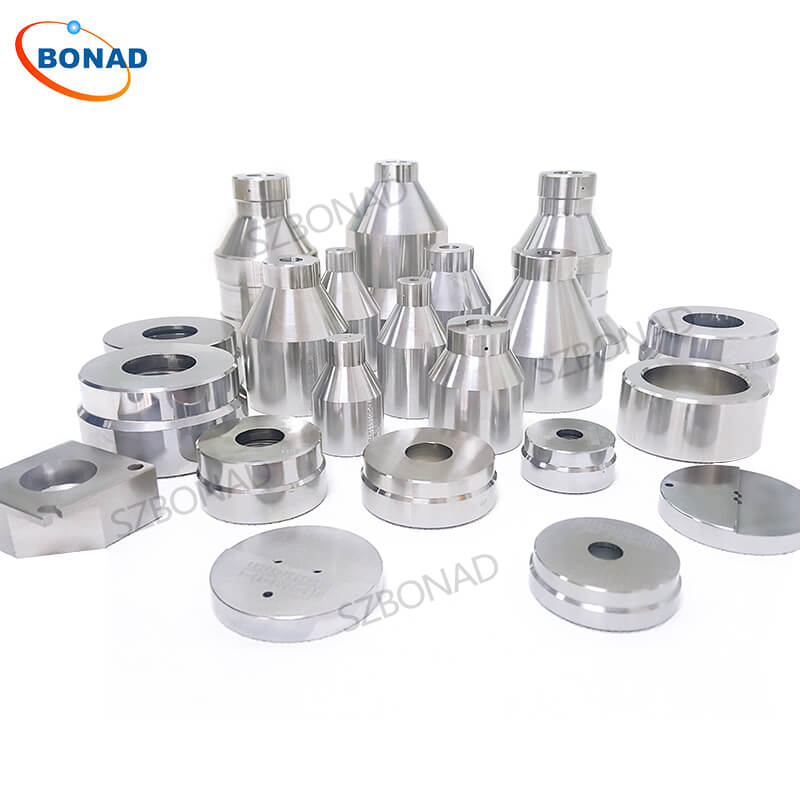
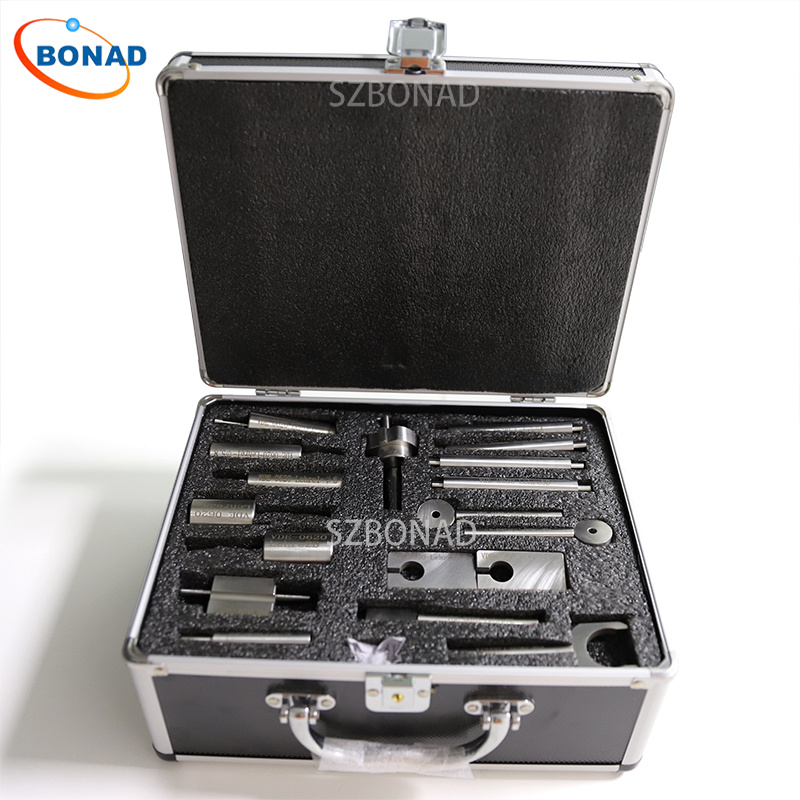
Thread ring gages, including go and no-go types, are essential tools for verifying the accuracy of externally threaded products. To begin, it is crucial to choose the correct size of thread ring gages that match the specifications of the threaded product. This selection process can be challenging due to incomplete or incorrect drawings and specifications. Users must ensure that details such as major diameter, threads per inch (TPI)/pitch, class of fit, and any special pitch diameters are clearly defined. Additionally, it is vital to verify that the gages adhere to appropriate national or international standards. In the United States, metric thread gages are often assumed to comply with ANSI/ASME B1.16M standards; however, this might not always be true, especially when dealing with international clients or companies with global operations. Other standards like ISO or JIS may be necessary.
It is also important to confirm that the pitch diameters on the gages align with part specifications. For instance, parts measured before plating require specific pitch diameters, and gages should be marked with B/P or P/P designations for easy identification. Inspectors should ensure that gages are calibrated and rechecked before use against a master set plug, regardless of their calibration sticker status. Many companies opt for annual calibration frequencies based on usage rather than arbitrary timelines to prevent worn-out or damaged gages during production runs.
The best practice involves using multiple sets of thread ring gages all calibrated to a matching master set plug gage. Some sets can be used for in-process inspections while others for final checks, keeping a master set available for resolving disputes if discrepancies arise.
Adjustable American Gage Design (AGD) thread ring gages feature radial slots that naturally clean workpiece threads. It’s essential to remember that these gages are not work dies; cleaning the workpiece before gauging extends their lifespan. Regular maintenance includes cleaning with solvents or air and applying rust preventative coatings. When not in use, lay them flat to avoid rolling off surfaces and perform gauging over an inspection table to mitigate damage from accidental drops.
The go thread ring gage should smoothly engage with minimal force on the threaded part without any specified torque requirements; common sense should guide its use based on thread size and application factors. If binding occurs, stop immediately as this could indicate an oversized part or lead errors among other issues.
The no-go gage exclusively checks pitch diameter without being influenced by other screw thread conditions due to its truncated crests and increased root clearance. It should not enter more than three turns into a part; ideally limiting turns between 1 ½ – 2 max ensures proper assessment by simply counting rotations.
By following these guidelines, users can effectively utilize thread ring gages for accurate measurements and quality assurance in threaded components production processes.


