Before any product hits the market, it undergoes extensive testing to ensure its durability and reliability. Among the various testing methods, the UV weathering chamber test stands out for its ability to simulate real-world conditions. This article aims to guide you through the process of commencing a test using a UV weathering chamber, which is crucial for products exposed to sunlight and UV rays.
Understanding the UV Weathering Chamber
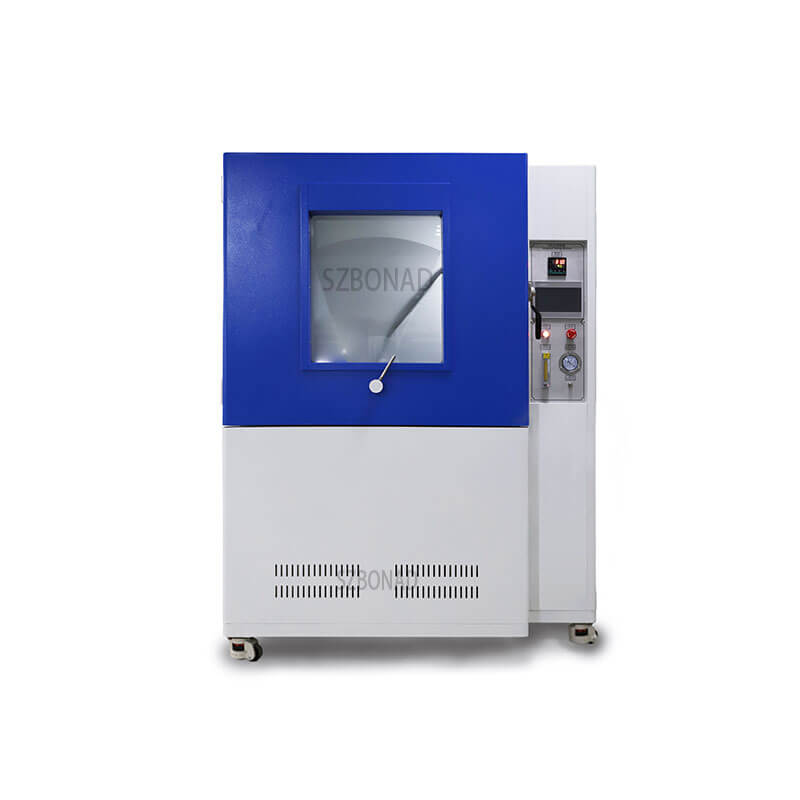
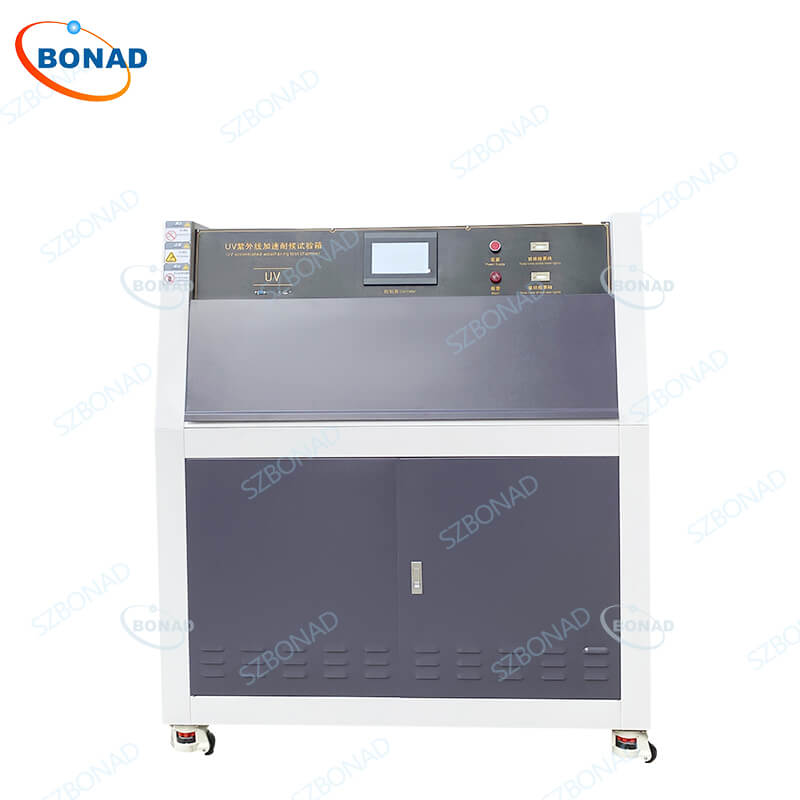
A UV weathering chamber is a sophisticated device designed to expose products to ultraviolet (UV) radiation, moisture, and fluctuating temperatures. These conditions mimic natural environments, allowing manufacturers to evaluate how their products will perform over time. The chamber is equipped with advanced features that enable it to test multiple parameters simultaneously, unlike traditional chambers that focus on a single aspect like temperature or vibration.
Key Components of a UV Weathering Chamber
To fully grasp how a UV weathering chamber operates, it’s essential to understand its main components:
- UV Lamps: These lamps generate UV radiation similar to sunlight, providing the necessary exposure for testing.
- Temperature Control: A system that maintains the chamber’s temperature within desired limits, ensuring accurate simulation of real-life conditions.
- Humidity Control: Mechanisms that introduce moisture into the chamber, replicating dew and rain conditions.
- Sample Holders: Clamps or fixtures that secure the product in place during testing.
- Control Panel: Often referred to as the Human-Machine Interface (HMI), this panel allows operators to set and adjust various testing parameters.
Step-by-Step Guide to Commencing a Test
Starting a test in a UV weathering chamber involves several straightforward steps:
- Prepare the Material
- Ensure that the product is clean and free from impurities that could affect test accuracy.
- Clean the chamber itself to remove any contaminants that might alter temperature or other conditions.
- Set Up the Chamber & Position Samples
- Verify that all components, especially the UV lamps and sensors, are functioning correctly.
- Mount your product securely on the sample holder. If testing multiple products, label them for easier analysis.
- Set Test Parameters
- Adjust parameters such as temperature, UV intensity, humidity levels, and water sprays based on the expected real-world conditions your product will face.
- Use the control panel (HMI) to input these settings accurately.
- Start Test & Monitor It
- Activate the chamber and monitor it as it reaches the set parameters.
- The duration of exposure depends on how long your product will typically endure these conditions in real life.
- Analyze Results
- After completing the test, examine how exposure to UV rays, temperature fluctuations, and humidity has affected your product.
- Products that maintain their integrity are deemed durable; those that deteriorate require further improvement.
Advantages of Using a UV Weathering Chamber
The benefits of conducting tests in a UV weathering chamber are manifold:
- Quality Assurance: Ensures products meet quality standards before market release, safeguarding brand reputation.
- Lifespan Estimation: Helps manufacturers determine and label product lifespan accurately.
- Fault Identification: Allows for early detection of weaknesses and areas needing improvement.
- Cost Efficiency: Reduces the need for extensive quality assurance teams by providing reliable testing results accepted globally.
Conclusion
UV weathering chambers play an essential role in evaluating products like paints and polymers that are vulnerable to UV exposure. By simulating real-world conditions, these chambers help manufacturers ensure their products’ durability and performance before they reach consumers. Robust products pass these tests effortlessly, while weaker ones are sent back for refinement.